Taking screenshots is a fundamental skill for Mac users, whether for personal, educational, or professional purposes. The Mac operating system provides various intuitive tools to make capturing your screen straightforward. This comprehensive guide covers every aspect of taking screenshots on your Mac, ensuring you have the expertise to capture and share with ease.
Why Take Screenshots on a Mac?
Screenshots are an essential tool for numerous reasons, including:
- Documenting errors for technical support.
- Sharing information with colleagues or friends.
- Creating tutorials or guides.
- Storing important visual data quickly.
Macs make this process seamless with built-in commands and versatile options.
Quick Methods to Take Screenshots
Mac offers various options for different needs. Here’s a breakdown of all methods:
Capturing the Entire Screen
The quickest way to capture everything on your screen:
- Shortcut: Press
Shift + Command (⌘) + 3. - Result: The entire screen will be captured.
- File Location: By default, the image is saved to your desktop as a
.pngfile.
This method is perfect for those who need a complete overview of their workspace.
Capturing a Selected Area
If you need a specific portion of your screen:
- Shortcut: Press
Shift + Command (⌘) + 4. - Cursor Change: Your cursor will turn into a crosshair.
- Selection: Drag to highlight the area you wish to capture.
- Result: Release the mouse or trackpad button to take the screenshot.
This is an efficient way to capture only what matters, avoiding unnecessary clutter.
Capturing a Specific Window or Menu
To capture a particular window or menu:
- Shortcut: Press
Shift + Command (⌘) + 4, then press theSpacebar. - Cursor Change: The cursor becomes a camera icon.
- Selection: Move the camera over the desired window or menu to highlight it.
- Result: Click to capture.
The result will be a clean image of your selected window with no additional background.
Advanced Screenshot Tools
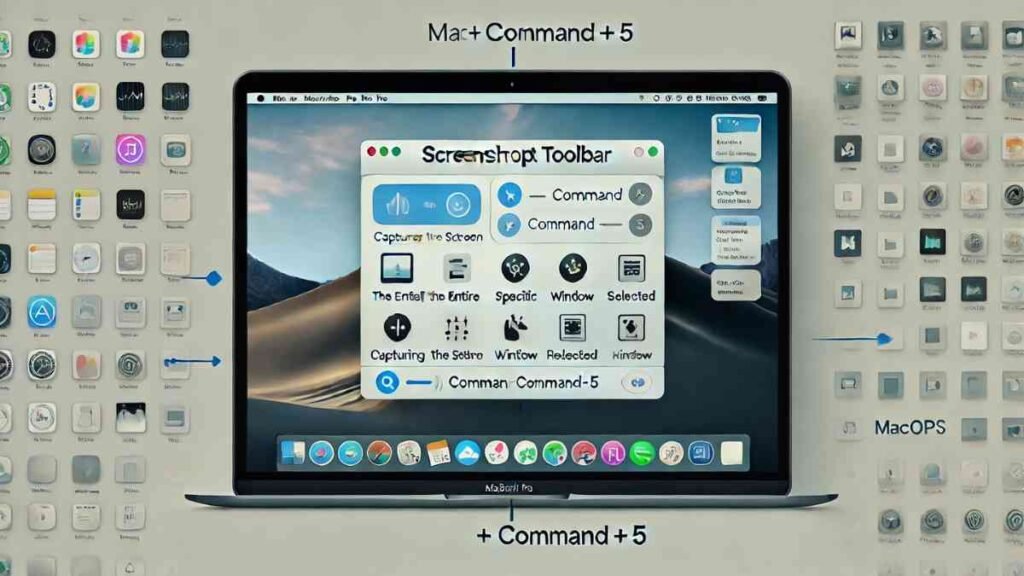
For those using macOS Mojave or later, the Screenshot Toolbar is a game-changer:
- Shortcut: Press
Shift + Command (⌘) + 5. - Toolbar Options: The toolbar provides multiple capture options, including:
- Full screen.
- Selected portion.
- Specific window.
- Video recording of your screen.
- Settings: Customize file save location, timers, and more via the “Options” menu.
The toolbar is perfect for users who want flexibility and advanced control over their screenshots.
Copy Screenshots to Clipboard
Instead of saving screenshots directly, you can copy them to the clipboard:
- Shortcut: Add the
Controlkey to any screenshot command.
Example:Shift + Control + Command (⌘) + 3.
This method is ideal for quickly pasting screenshots into documents or editing software.
Special Features for MacBook Pro with Touch Bar
For MacBook Pro users with a Touch Bar:
- Shortcut: Press
Shift + Command (⌘) + 6. - Result: This captures the Touch Bar and saves the image to your desktop.
This feature is unique and ensures you can document everything displayed on your Touch Bar.
Tips for Managing Screenshots
Managing multiple screenshots can become overwhelming. Here are some tips to stay organized:
- Change Save Location: Use the
Shift + Command + 5toolbar, click “Options,” and select your preferred save location. - Rename Files: Rename screenshots for easier identification.
- Cloud Storage: Save files to iCloud or other storage services for quick access on multiple devices.
These tips help you maintain a clean and organized workflow.
Troubleshooting Common Issues
Sometimes, you may encounter issues while taking screenshots. Here are solutions to common problems:
- Screenshot Commands Not Working:
- Restart your Mac.
- Check for conflicting keyboard shortcuts.
- Screenshots Not Saving:
- Verify your file save location via the Screenshot toolbar or system preferences.
- Blurry Images:
- Ensure your screen resolution is set to its maximum.
Proactive troubleshooting can save time and keep you productive.
Practical Applications of Screenshots
Screenshots are useful in various scenarios:
- Education: Create guides, presentations, or handouts.
- Business: Document processes or share updates with colleagues.
- Entertainment: Save memorable moments from videos or games.
- Personal: Share troubleshooting details or visual instructions with friends.
The versatility of screenshots makes them an indispensable tool for all Mac users.
Mastering Screenshots for Efficiency
Screenshots enhance communication and productivity. With these tips and techniques, you can effortlessly take screenshots, streamline your workflow, and become a Mac expert.
Conclusion
Mastering how to screenshot on a Mac is essential for anyone looking to streamline their workflow, share important information, or create visually engaging content. Whether you’re a student, professional, or casual user, these simple yet powerful tools make capturing your screen effortless. By utilizing shortcuts, the Screenshot Toolbar, and advanced settings, you can take full control of your Mac’s screenshot capabilities.
FAQs
Q1: Can I edit screenshots directly after capturing them?
Yes, macOS provides a quick-edit feature. Once a screenshot is taken, a thumbnail appears in the bottom-right corner of your screen. Click it to annotate, crop, or share the screenshot instantly.
Q2: Are third-party screenshot tools necessary?
While macOS tools are comprehensive, third-party apps like Snagit or Lightshot can offer advanced features such as text recognition and cloud integration.
Q3: Can I take screenshots in apps that restrict them?
Screenshots may be restricted in apps due to privacy settings. Workarounds typically violate policies, so always respect app rules.
For More Visit, MirrorMagazine.co.uk


