Introduction
Sealing joists that penetrate walls is critical to maintaining your home’s structural integrity and energy efficiency. Without proper sealing, air leaks, moisture intrusion, and pest entry can lead to significant problems over time. This guide will provide you with an in-depth understanding of how to seal joist going into the wall effectively and efficiently.
Why Sealing Joists is Important
- Energy Efficiency: Unsealed gaps around joists allow air leaks, increasing heating and cooling costs.
- Moisture Prevention: Proper sealing protects against water infiltration, which can cause rot or mold.
- Pest Control: Sealing eliminates potential entry points for pests and insects.
- Structural Longevity: Prevents long-term damage to the building materials.
Tools and Materials Needed
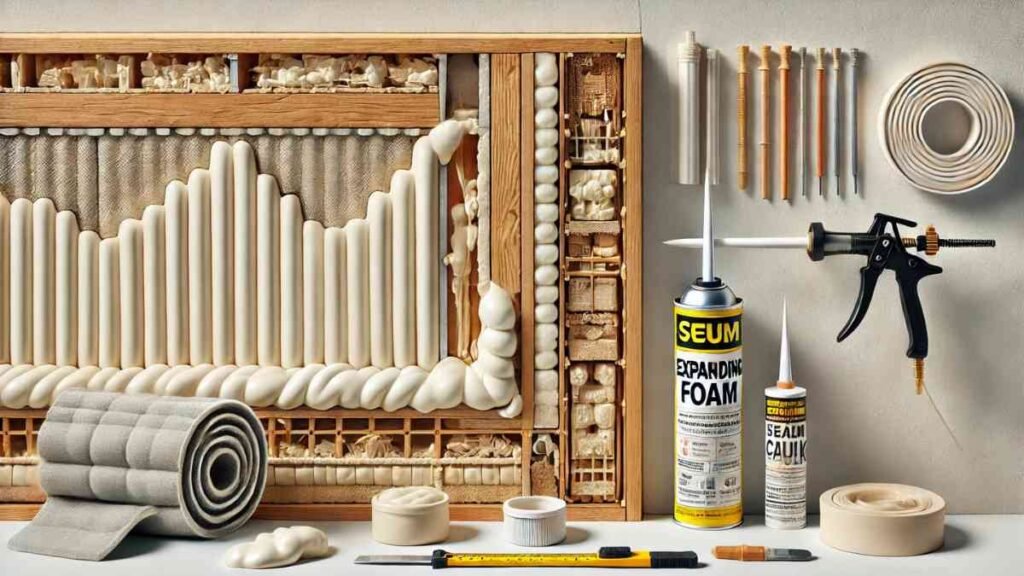
To get started, gather the following tools and materials:
- Low-expansion polyurethane foam sealant
- High-quality exterior-grade caulk (silicone or polyurethane)
- Foam backer rods (for larger gaps)
- Flashing tape or metal flashing
- Utility knife or trimming tool
- Safety gloves and goggles
Step 1: Inspect the Joist Penetration
Begin by examining the area where the joist enters the wall. Look for:
- Gaps around the joist
- Cracks in the wall or surrounding material
Ensure the area is free of debris, dirt, or old insulation, which can hinder the sealing process.
Step 2: Clean the Area
Before applying any sealant, thoroughly clean the gaps. Remove:
- Dust and debris
- Old, damaged insulation or caulk
A clean surface ensures a better bond for the sealing materials.
Step 3: Fill Small Gaps With Expanding Foam
For gaps less than 1 inch:
- Insert the nozzle of the polyurethane foam sealant into the gap.
- Dispense foam slowly, allowing it to expand and fill the space.
- Once cured (typically within a few hours), trim excess foam with a utility knife.
Expanding foam is excellent for creating an airtight seal in small to medium gaps.
Step 4: Use Backer Rods for Larger Gaps
If gaps exceed 1 inch, insert foam backer rods first. Here’s how:
- Select a backer rod slightly larger than the gap.
- Push the rod into the gap, ensuring it is snug and even.
- Follow up with a layer of sealant over the backer rod to secure it.
Step 5: Apply Exterior Caulk
Seal the joist penetration using a durable exterior caulk:
- Squeeze a continuous bead of caulk along the edges of the joist.
- Use a caulk tool or your finger to smooth the bead for a tight seal.
- Allow the caulk to cure as per the manufacturer’s instructions.
Step 6: Add Flashing for Extra Protection
To prevent moisture intrusion, install flashing:
- Metal Flashing: Attach metal flashing over the sealed area, ensuring it diverts water away from the joist.
- Flashing Tape: Apply self-adhesive flashing tape for added waterproofing.
Step 7: Insulate the Joist End
For better energy efficiency, insulate the joist inside the wall cavity:
- Use spray foam insulation or fiberglass batts.
- Ensure the insulation fits snugly around the joist without leaving gaps.
Step 8: Regular Maintenance
Sealing is not a one-time process. Over time, materials may degrade. Follow these tips for upkeep:
- Inspect the sealed areas annually.
- Reapply caulk or foam as needed to fix any wear or cracks.
- Ensure flashing is intact and functional.
Common Mistakes to Avoid
- Using High-Expansion Foam: This can exert too much pressure, potentially damaging the joist or wall.
- Skipping Cleaning: Dirt or debris can prevent a proper bond.
- Ignoring Insulation: Proper insulation is as crucial as sealing.
Benefits of Properly Sealing Joists
- Lower Energy Bills: Sealing reduces heat loss and improves HVAC efficiency.
- Enhanced Durability: Protects your home from water damage and structural issues.
- Improved Comfort: Eliminates drafts and keeps your home temperature stable.
- Increased Property Value: Proper sealing showcases quality maintenance to potential buyers.
Conclusion
Knowing how to seal joist going into the wall is essential for homeowners aiming to protect their investment and improve energy efficiency. By following these steps and using the right materials, you can effectively seal joist penetrations, ensuring your home remains safe, comfortable, and energy-efficient.
For More Visit, MirrorMagazine.co.uk


