Introduction
Writing a check may seem outdated in today’s digital age, but it remains a vital skill. Checks are still used for various purposes, including paying rent, bills, or gifting money. Learning how to write a check correctly ensures your payment is processed smoothly and helps prevent fraud.
This comprehensive guide will take you through each step of writing a check and offer helpful tips to make the process easier.
Why Knowing How to Write a Check is Important
Even though digital payments are prevalent, checks are widely accepted and reliable for specific transactions. Knowing how to write a check ensures you can:
- Complete formal transactions like rent or utility payments.
- Handle situations where digital payments are unavailable.
- Prevent fraud by properly filling out checks.
Materials Needed to Write a Check
Before you start, make sure you have the following:
- A checkbook
- A pen (preferably with permanent ink)
- A record book or ledger to track the transaction
Step-by-Step Instructions for Writing a Check
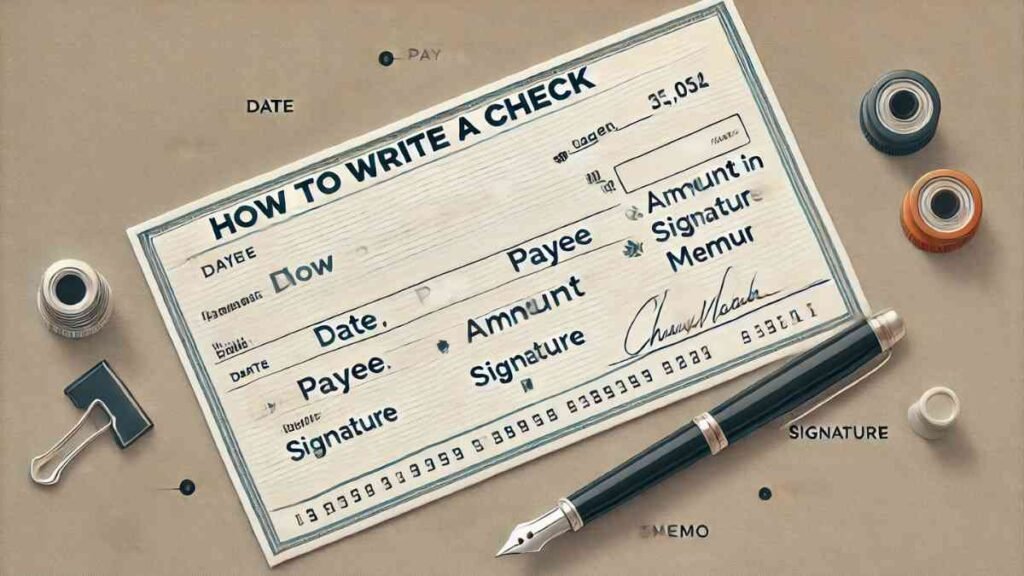
Step 1: Write the Date
In the upper-right corner of the check, fill in the current date. This can be written in various formats, such as “MM/DD/YYYY” or “Month Day, Year.” The date lets the bank and recipient know when the check was issued.
Step 2: Add the Payee’s Name
Write the name of the person or organization receiving the payment on the line labeled “Pay to the Order of.” Ensure you spell the name correctly to avoid processing issues.
Step 3: Enter the Payment Amount in Numbers
In the box to the right of the payee’s name, write the amount in numerical form. For example, if the payment is $150.75, write “150.75.”
Step 4: Spell Out the Payment Amount in Words
On the line below the payee’s name, spell out the payment amount in words. For example:
“One hundred fifty and 75/100.”
This step ensures clarity and reduces the risk of fraud.
Step 5: Fill in the Memo Line (Optional)
Use the memo line in the bottom left corner to indicate the purpose of the check. For example:
“Rent payment for December” or “Invoice #12345.”
Step 6: Sign the Check
Sign your name on the line in the bottom-right corner. Your signature authorizes the bank to process the payment. Ensure it matches the signature on file with your bank.
Tips to Avoid Errors
- Use a permanent ink pen to prevent alterations.
- Double-check the payee’s name and payment amount.
- Fill out the check completely to avoid leaving blank spaces.
Common Mistakes and How to Fix Them
Forgetting to Sign the Check
Without a signature, the bank will reject your check. Ensure you sign before handing it over.
Mismatched Amounts
If the numerical amount and written amount don’t match, the bank may return the check. Always double-check for consistency.
Writing the Wrong Payee Name
Incorrect payee names can delay processing. Double-check before submitting the check.
Security Tips for Writing Checks
- Keep your checkbook in a safe place to prevent theft.
- Monitor your bank account regularly for unauthorized transactions.
- Avoid pre-signing blank checks.
Conclusion
Understanding how to write a check is a valuable skill that ensures secure and accurate transactions. Following these steps will give you confidence when handling checks and help you avoid common pitfalls.
FAQs
1. What happens if I forget to sign a check?
A check without a signature is invalid and cannot be processed by the bank. Always double-check for a signature before issuing a check.
2. Can I write a check with a pencil?
No, using a pencil is not recommended because it can be easily erased or altered. Always use a pen with permanent ink.
3. What should I do if I make a mistake on a check?
If you make a mistake, void the check by writing “VOID” across it and start a new one. Avoid crossing out errors as this can lead to confusion or rejection.
4. Why is it important to write the amount in words?
Writing the amount in words provides a clear backup for the numerical value, reducing the chances of fraud or misinterpretation. The bank prioritizes the written amount in case of discrepancies.
For More Visit, MirrorMagazine.co.uk


